Maintaining ideal body heat during the colder months of the year is a vital priority if a person is exposed to freezing temperatures. Survival experts agree that hypothermia begins to occur when the body temperatures begins to drop below 96 degrees F. In spite of the proper layering techniques with winter clothing, those who are out doors for a given period of time may find themselves battling over exposure to cold weather elements. This is mainly due to gaps in clothing that allow air in, or sweating underneath clothing layers, or not being properly dressed for the outdoors.
Disposable hand and feet warmers are a great way to keep the cold at bay. This reasonable preparedness item can be purchased ahead of time to prepare for hunting trips, snow storms, placed in a vehicle 72 hour kit, as well as a personal 72 hour kit. These nifty disposable heat packs generate heat for up to 8-12 hours, and can give a person the additional heat needed to maintain proper body temperature to combat hypothermia and frostbite. The maximum temperature for the hand and feet warmers average to about 126 degrees F to 144 Degrees F (52 C – 62 C).
Direct exposure to these warmers may be too hot to place directly on the skin. Therefore, making a fabric covering to place the warmers into may be more comfortable. These fabric coverings for the warmers are relatively inexpensive, will hold the heat longer, and are extremely easy to make. In fact, a sewing novice can easily make these without a sewing machine.
Pocket Warmer Directions
Items You Will Need:
- Ruler
- Scissors
- Fabric
- Thread
- Sewing pins/safety pins
Directions:
1. Gather the material: Wool, corduroy, cashmere, or pleather.
2. Fold material with wrong side of material on outside.
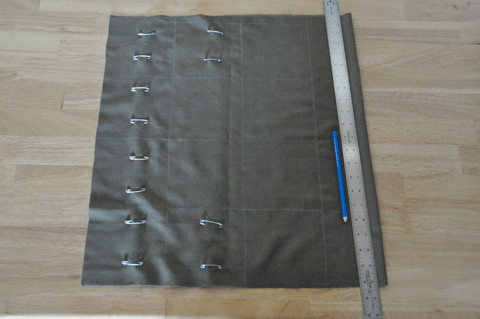
3. Using a ruler and water soluble marking pencil, measure 5 inch lines horizontally and vertically, making 5×5 inch squares.
4. Place two safety pins or sewing pins on each square of material you intend to cut off. Place a couple of pins on the adjacent side in order to anchor the material. {See Figure 1}
Figure 1
5. Cut the 5×5 inch squares of material.
6. On one side, measure 3.25 inches and place a mark. Do the same for the opposite side. {See Figure 2}

Figure 2
7. Starting at the 3.25 inch mark, sew along the sides and bottom, stopping at the 3.25 inch mark on the opposite side. Trim the bottom corners. {See Figure 3}
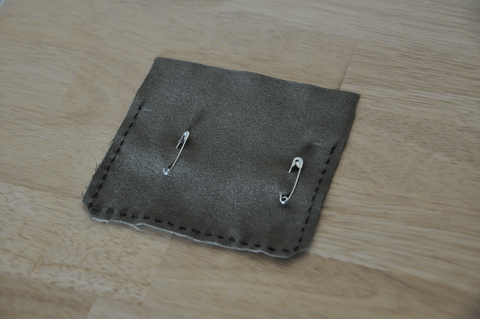
Figure 3
8. Remove pins. Fold one side of top flap down at the 3.25 inch mark, secure with pins and sew between the edge of fabric and the previously sewed side. {See Figure 4}
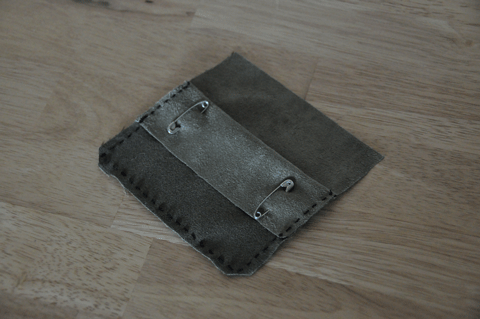
Figure 4
9. Remove pins. Flip the material inside out. {See Fig 5}
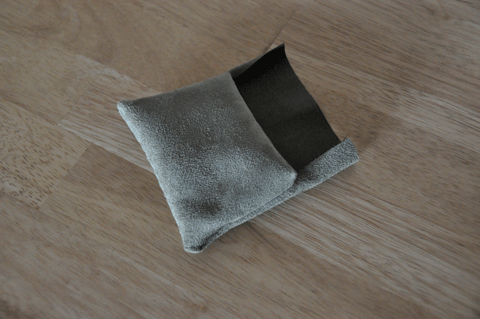
Figure 5
10. Fold top flap approx. 0.5 inches down and secure with pins. Sew bottom edge down. {See Fig 6}
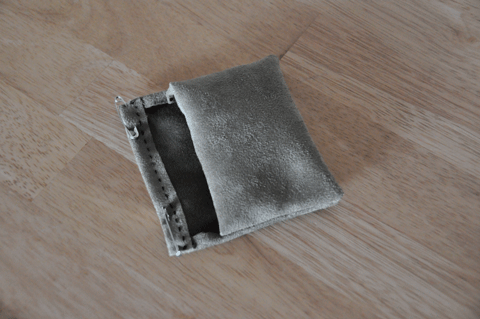 Figure 6
11. Fold flap down, line up side edge, and sew inside material side edge. Do not sew the top or bottom material {See Fig 7}.
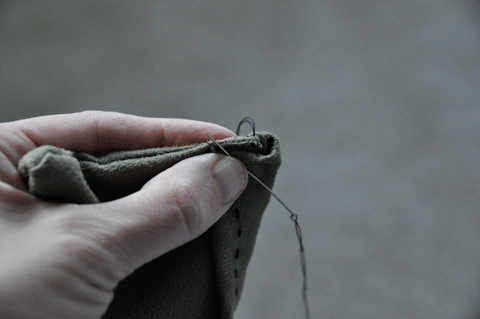
Figure 7
12. For use, follow directions of instant hand warmer for heat, place inside pouch and enjoy.
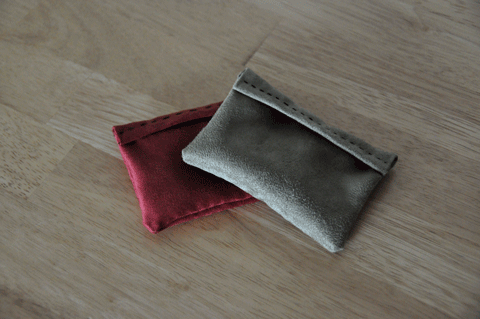
Option 1: Blanket-stitch sides and bottom down with embroidery floss {See Fig 9 Below}
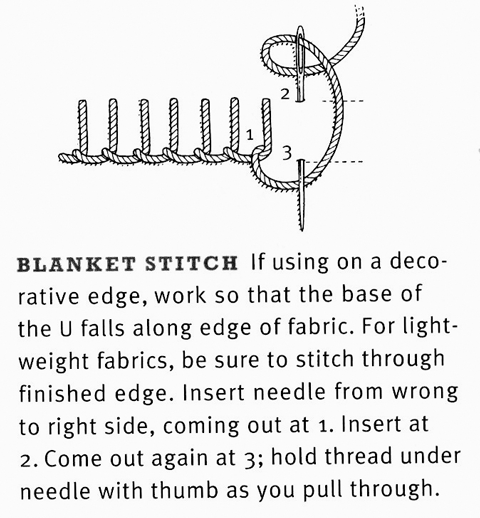
Option 2: Instead of an instant hand warmer, fill with ceramic pie weights, which hold heat well and are microwave-safe. Make 3×5 inch squares instead. Sew all around the edges, leaving an opening; cut off corners. Turn bag right side out; fill with ½ cup pie weights. Sew gap closed. Blanket-stitch above in Option 1. To warm them, microwave pouch on high for approx. 5 minutes. (Do not microwave longer and do not heat in a conventional oven.)
Hat tip to Pheonix for sending over these directions.
This article was originally published at Ready Nutrition™ on January 25th, 2011




I know these would not work in an emergency like your car being stuck in the snow, but I wanted to share what people used to do. In my grandmother’s and even my dad’s school days they would take a baked potato in their pocket to warm their hands on very cold days and then eat it (cold) at lunch.
Have you ever tried rice bags? They are homemade rectangle bags filled with rice. You can microwave them for 2 min. or less (more might burn). Just be sure no water gets in contact with them and they will last a long time. They are great to put in the bed at night. They are most helpful to use like a heating pad for sore muscles, headache, etc. Because of their ability to mold to areas such as your neck sometimes they are better than a heating pad. You can also make small ones to keep in the freezer as an ice pack.
Sorry to point this out, but in a SHTF situation, or your bug-out pack, how are these going to be useful/ There will be no electricity for a microwave to warm these up. Can you instead say put a warm but not hot rock into a similar setup and it work? Thanks, great site.