Hey, hey, hey, ReadyNutrition Guys and Gals! No, Fat Albert is not in front of the keyboard! Just JJ here with an article geared toward gearing up for a potential drought year. Coleridge’s “Rime of the Ancient Mariner” referred to the omnipresence of water regarding the seas and oceans. Fresh water is a different matter; therefore, here are a few pointers that you can follow to help secure your family’s supply in both time of paucity and for when the SHTF.
Water Storage Solutions for Every Type of Emergency
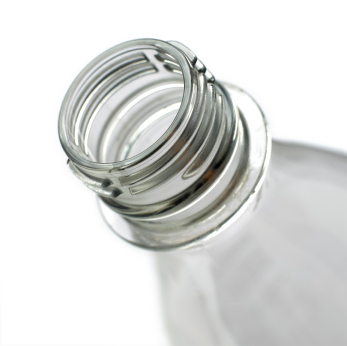
 1. Soda Bottles
There are ways to prepare for and store water for short-term emergencies. Of course, one of the determining factors being your geographic location, as well as the other one of how your home is situated – if you have a lot of ground or live in an apartment – are variables that will affect your family’s water plans. I highly recommend starting off small, and working your way up. Two liter soda bottles are excellent water storage vessels, and well within the budget. Here are some other popular choices for storing water for emergencies. Also, don’t forget about emergency water sources hidden in your home. Read more about them here.
To remove the sugar and any remaining acidic fluid, make sure you fill them halfway with hot or boiled water and shake them out really well. These actions will remove the sugar and enable your water to not have a medium that could help to grow bacteria. Remember, check to make sure your bottle has a code number such as 1,2,5,7, or HDPE on the bottom to ensure plastics do not leach into your water. The bottles are made to hold soda (a caustic, acidic fluid) for a long period of time and will work equally well in protecting your water.
 2. 5-gallon containers
For disasters water sources to be questionable for a week or longer, consider investing in some 5-gallon containers. Water bricks are a great example of this type of water storage solution.There are myriads of five-gallon water canisters available, so we will just mention that whatever type you decide to go with, standardize it and make it the norm, to help you keep track of the water. Store your water on the bottom of your storage space, so that if the container is compromised you will not experience everything under it being soaked.
Also, keep your soda bottle-containers “boxed,” in groups of 6 or twelve to help prevent them from falling or rolling all over the place. Once again, plastic bins are best to accomplish this task. Here are plans for creating a holding rack for 5-gallon water bottles.
 3. Catchment systems
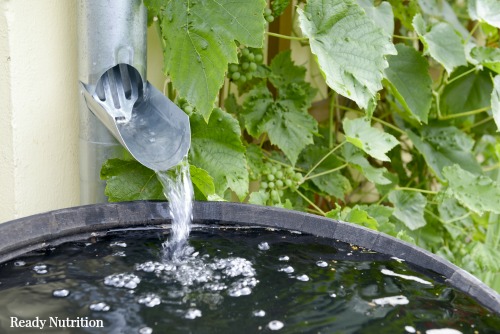
Rainwater catchment systems are an excellent choice for those of you preparing a long living disaster. You can refer back to previous articles on water-catchment systems I wrote with diagrams on how to utilize rainwater to build up a supply right out of your downspout to fill in 55-gallon food-grade plastic drums. Another consideration is a good cistern.
There is a great article in Howtopedia, a free downloadable resource (and printable) with all kinds of plans and designs for different projects. The articles come with step-by-step instructions on how to accomplish the tasks at hand.
 4. Cisterns
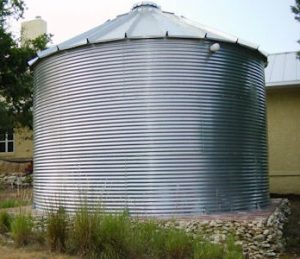
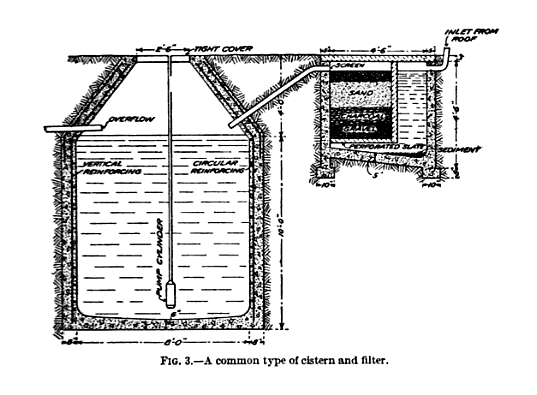
Cisterns are the ultimate long-term water storage source and have the capacity to hold up to 20,000 gallons of water or more (depending on the size, of course). For a cistern, you will need some ground and you might want to rent a “C” (as we called them in the Service) or a small backhoe to go nice and deep. Cisterns can be above ground or below. For the latter, you want it at least 6” below the frost line (the top of the hatch), and you can also channel your downspout into it.
There are several layers of sand, gravel, and charcoal that you can place at the top of your cistern that will allow for filtration of rainwater into it through the downspout and into the ground. One thing that will help immensely is an access hole that can be “plugged” through which you can insert the tube for a hand pump/hand-crank water pump to pull water out, as you need it. The cistern is good because it’s out of sight and allows for passive collection of water.
Here is a great example how to purify drinking water from a cistern if you find yourself in an off grid situation.

Storing water during winter months
For the wintertime, if you have a root cellar you can also store water there. Winter water collection is not as difficult as you may think. A woodstove adds to the benefits of utilizing snow and ice, providing a steady supply of hot water from a five-gallon soup pot. Keep in mind that water will need to be purified before drinking. On a side note, the evaporating water will act as a humidifier and keep the woodstove from drying out all of the air in the house.
I have a question to ask of you guys and gals. Over the winter, I saw a woodstove photo that had copper tubing wrapped around the stovepipe (before it exited the cabin, naturally). This tubing was attached as an inlet and an outlet to heat up water and recirculate it into another container…a passive hot water heater. The tubing had an outflow (from the water container that sat upon the stove) and an inflow (to transfer the hot water to a storage unit). Anyone who knows of information on this system (links, plans, etc.), I would greatly appreciate your sharing it with us.
To summarize, now is the time to take these measures to store and collect water for your family. There is plenty of time now to inculcate a working system and build up sizeable storage sections for your home, wherever you live, that is within your budget. It is best to have at least a 10-14 day supply for every member of your family, going at a rate of 1 gallon per day minimum per family member. Don’t forget the pets on this, and also take into consideration any family member – pet or human – that may have special needs of increased water. Have a great day, and happy water collecting! JJ out!

JJ, there are Utube videos that show how to heat water using a woodstove. Prepper Engineer has a number of videos about this.
Worked on a variant of this in 1980 w/James Colt in Paonia Colorado.
The people had a “Warm Morning” large firebox stove. Cast iron within a porcelainized framework to make it less combustible and dangerous to bump into. INSIDE the firebox, James used Galvanized pipe with pipe dope – and made a zig-zag from the bottom to the top rear of one side of the firebox – about an inch or so inside the box wall.
The water enters at the LOWEST POINT, inclines up at a definite angle, a street elbow that turns horizontal connected to a regular (female/female) corner. That is connected to the next straight section, which also goes on a definite incline. The thing you MUST AVOID is having dips or flats in the line in which boiled water (the gaseous part) can possibly plug up anything. Then you just made a bomb, and it’s going to throw hot coals all over your house after piercing you with shrapnel – hot – from the stove.
To make sure that doesn’t happen you ALWAYS go up a little bit. At the outside bottom you install a pressure relief valve like on the water heaters. You also do that on the top. We had a water heater mounted in the attic, with a small tank – maybe 2 or so gallons mounted above that which always held air as a compression chamber – and IT had a pressure relief valve.
When we started a stove – water that was WAY TOO HOT to think about touching was coming out less than 5 minutes later.
If you go with flex copper (i’d never use less than 1/2 inch myself) again, try to put in a pressure relief safety valve below and above the line and never let things get horizontal after they hit the heating coil. You should develop a thermosiphon loop, but if you have this hooked in straight to the hot water out of the water heater, your usage will also pump water through – but only when you use the hot water.
You can also set this up as a two stage system if you have/make a heat exchanger. Then you can run the refrigerant through the stove coil and heat water with a coolant.
I want to say the best coolant was a form of salt – not the poisonous radiator type fluids you sometimes see. (not that i’ve seen them used in DIY home 2-stage water heaters, but i heard a horror story one time) Salts REALLY carry the heat, and won’t freeze either if you run them to a remote room, or worry about running them through an attic or exterior wall in a cold climate.