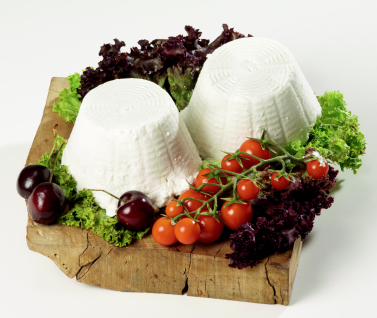
 For some time, it has been a goal of mine to make fresh cheese. In all honesty, I was a bit intimidated by the process, but I found this simple recipe that I wanted to share.
It uses plain milk, requires no special equipment, and produces a homemade soft and spreadable cheese. The best part is you can substitute powdered milk for the whole milk and make fresh cheese using your emergency food supply items!
After learning the basic recipe, you can begin changing the flavor and adding your favorite spices, zest, extracts or herbs. My favorite is fresh cracked pepper, garlic powder and Italian herbs.
This recipe only takes about 15 minutes to make and is delicious. So get creative and enjoy!
Fresh Farm Cheese
Ingredients:
2 quarts whole organic milk (use pasteurized, instead of ultra-pasteurized, if available)
2 cups buttermilk
1 tablespoon white vinegar or lemon juice
1 1/2 tsp sea salt
cheesecloth, rinsed
Preparation:
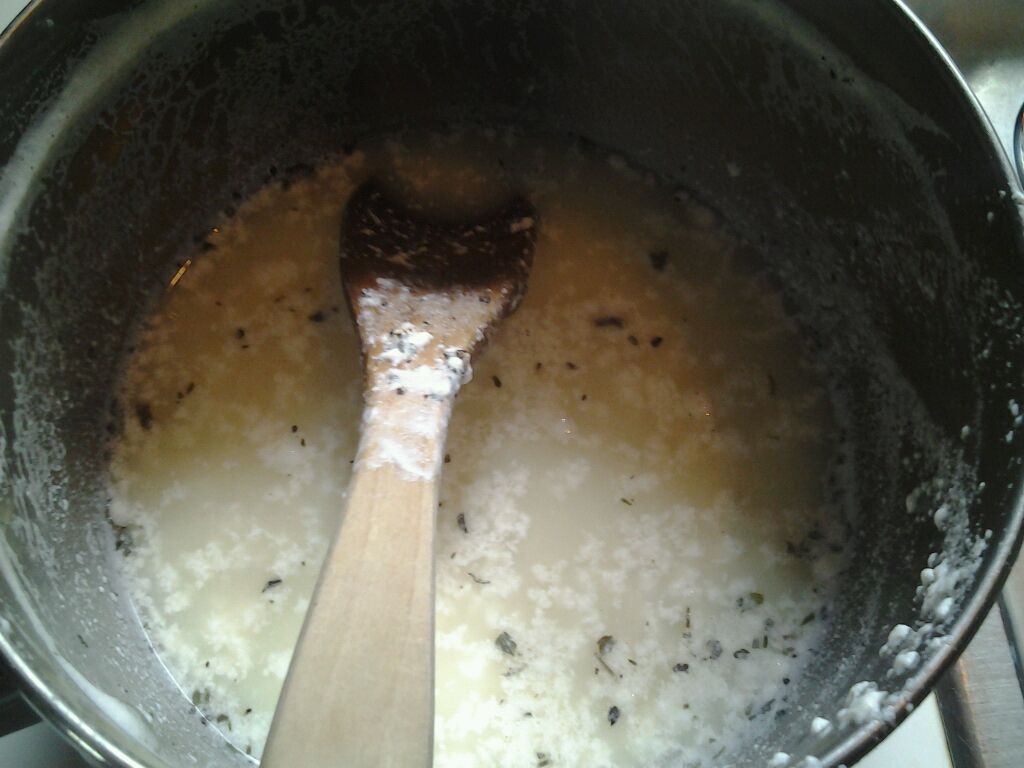 1. In a heavy-bottomed pot, over low heat, slowly heat the milk up, stirring often, until it is just about to simmer (about 180 degrees F). Stir in the buttermilk, and then the vinegar, and turn off the heat. Very slowly stir until you see the milk separating into curds (the solids) and whey (the liquid). Leave undisturbed for 10 minutes.
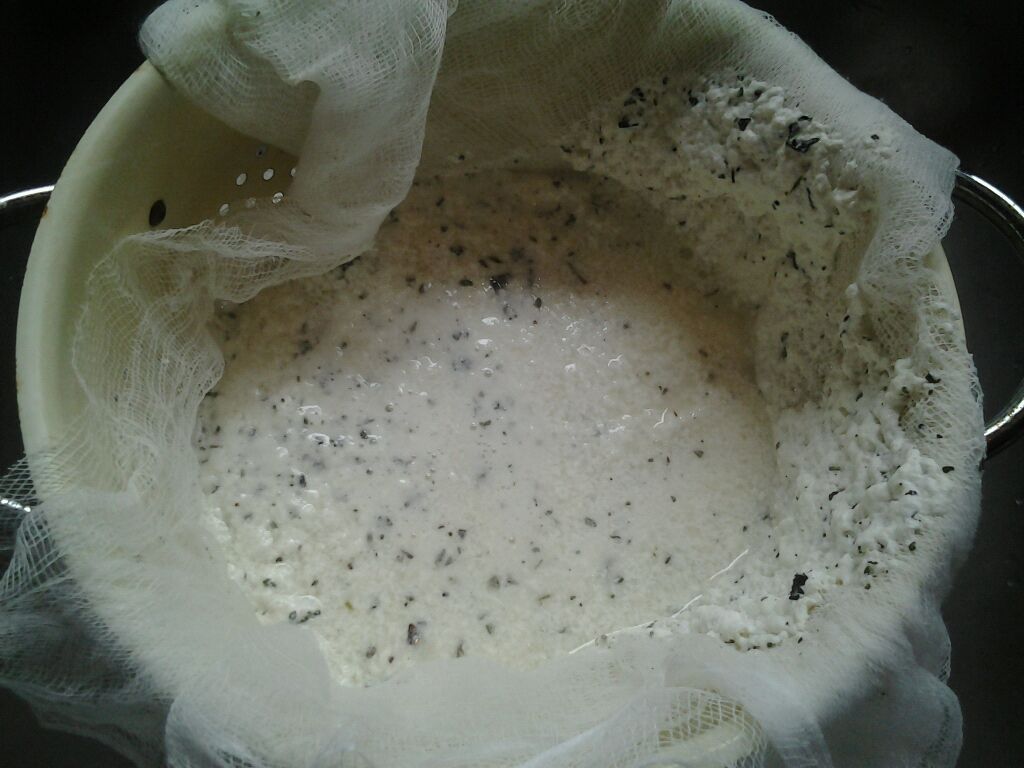
2. Line a large strainer with 2-3 layers of cheesecloth, and place over a stockpot to catch the whey. After the 10 minutes, ladle the curds into the cheesecloth, and allow the whey to drain for 10 minutes. Gather up the edges of the cheesecloth, and tie a string around the top to form bundle.
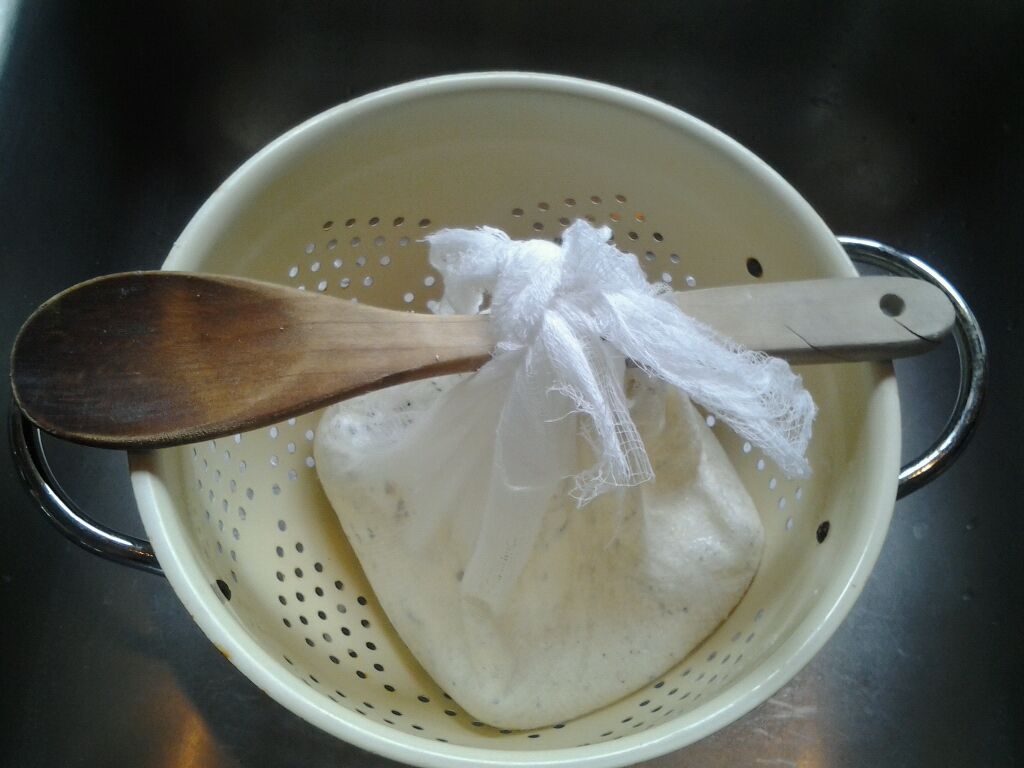
3. Tie the string to a wooden spoon or dowel, and hang the cheese curds over the stockpot and continue draining for 30 minutes
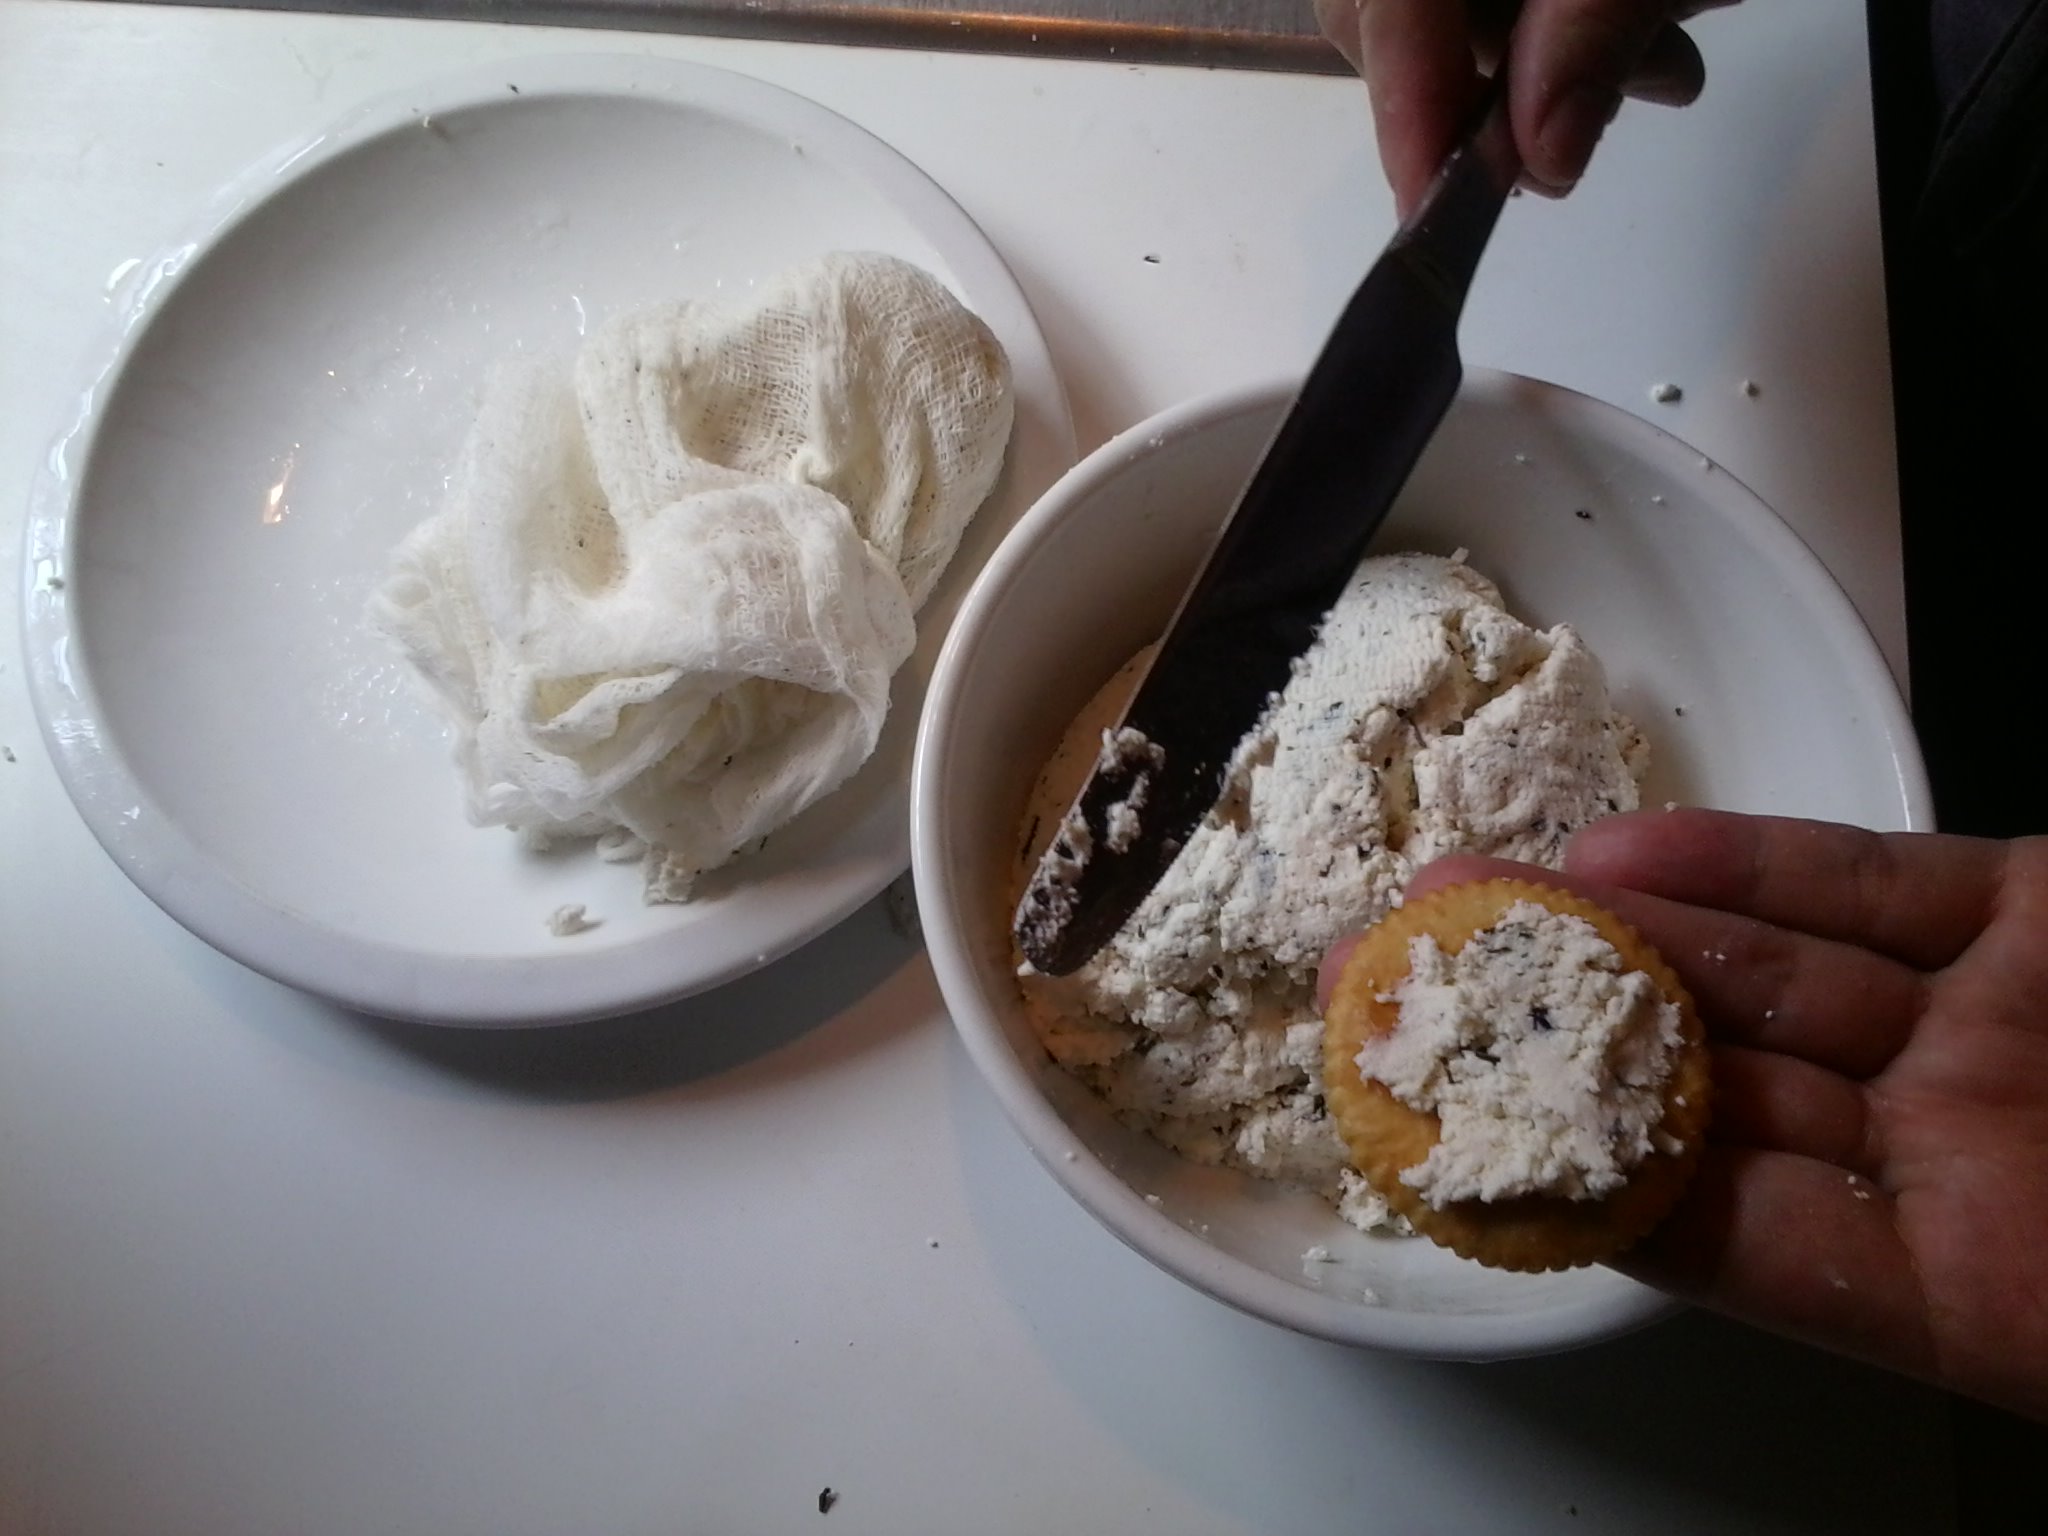
4. After draining, remove the cheese from the cloth, and transfer into a container. Stir in the salt and refrigerate. This fresh cheese can be used for up to 5 days. Use as a spread, or as you would use cream cheese, or cottage cheese.
There is really nothing to this easy starter recipe for cheese. Anyone can do this recipe – trust me. Now that I have learned the basics in cheese making and what to expect, next on my list of cheeses to make is mozzarella – so stay tuned!

Yummy!!! this is something I will definitely use. Do you also have a recipe for making yoghurt??
Many thianks for everything you do.
Hi Linda,
Thanks for asking, I do have a recipe for yogurt.
For Yogurt:
Keeps in fridge 2 weeks
2 cups warm (100degree) water
1 cup of regular milk or non-instant milk powder
2 tablespoons unflavored yogurt
Pour warm water into blender and turn on at low speed. Add milk powder slowly. Blend until smooth. Add yogurt and blend a few more seconds. Pour into jars or glasses. Set with one of the following methods:
Method 1 – Place jars neck-deep in warm water. Cover pan with lid. Set on Yogurt maker and keep temperature at 100-120 degrees. Will take 4-8 hours to set up. Chill immediately.
Method 2 – Turn on a heating pad to the medium setting. Place a folded towel over the heating pad. Set jars on towel. Cover with another towel. Let set 4-8 hours. When set, chill immediately. You can set your yogurt overnight or while you are at work. Save some of your homemade yogurt for starter.
Thank you for the great ideas. Very enjoyable. Were can I find cheese cloth?
Hi Adam,
I bought my cheese cloth at the grocery store. I would look in the baking section. If you want to buy cheese cloth in bulk, you can probably go to Amazon and find it there as well.
Tess
Thanks for the great articles! My grocery store had no cheesecloth, but the JoAnn Fabric store did.
Sometime if I cann’t find cheesecloth I use a paint strainer
cloth you can buy in any paint store.
I made this cheese yesterday! Very easy and simple. I got about 1-1/2 cup of soft cheese, just wondering if this is about the norm? Seemed like a lot of whey was drained off. Is there something that I could have done with all of that?
I added sun dried tomatoes, Italian herbs and garlic to the cheese and refrigerated over night. It was fantastic on french bread the next day.
Thanks so much for the directions! I’ll definitely make again.
I told you guys it was easy. Great job!
I drained a lot of whey off of my cheese batches too. It’s just part of the process. However, there are quite a few ways to reuse the whey drained off. Here’s a few off the top of my head:
Being a Southern girl, I use it to make the best cornbread ever! Just substitute whey for buttermilk.
You can also use it as a substitute for liquids in baking, making breads, added to soups as a thickener or while cooking rice. Also, I have used to to make amazing pancakes and cakes.
You can probably do an online search and find some more uses.
I hope this helps!
Tess
I give the whey to my chickens 😉 Makes great eggs that way.
@ Michelle,
I heard that you can give whey to chickens, but didn’t know if it was a myth or not. Good to know! I plan on getting some chickens in a few months. Thanks!
Tess
We make this cheese to ue on our homemade lasagna instead of store-bought ricotta. Great flavor and half the price.
I don’t use cheesecloth for this cheese; instead, I use a knee-high stocking. (I have a pair of stockings that are key items in a few recipes, including homemade tofu!).
And thanks for the ideas on how to use the whey. I’ve always hated tossing it, but it’s so lemon-y that I was afraid to use it in any other recipes. You’ve given me courage!