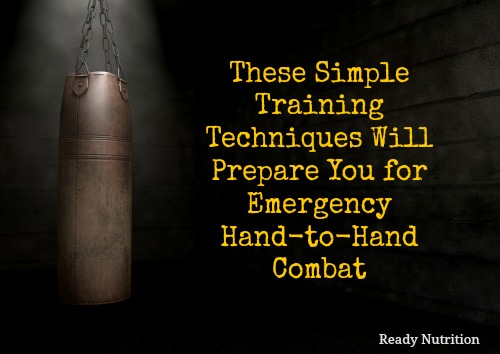
So, Guys and Gals out there in ReadyNutrition Land, why not another primer on a tool you can use to develop the combat skills? Yes, I’m referring to the heavy bag, that large, cylindrical/tubular “punching” bag with a slew of different uses. As the name suggests, it should be heavy. Such weight provides resistance for the training you will follow after, and it also gives a better chance for the longevity and durability of your bag.
Here’s What You’ll Need to Start Training
A good heavy bag, like this one, can be made out of leather or canvas. Avoid vinyl/plastic if you can. The reason for this is manifold: plastic is subjected to changes in temperature that do not affect the leather and canvas bags, as well as a tendency to split/develop a hole more readily. The leather and canvas ones can develop a hole, but it’s a lot harder. That leather lasts a long time, and the canvas is durable. The main thing is to keep both leather or canvas clean and free of molds that can eat through them if left untreated. Wipe them down after training, and clean up the sweat and moisture.
Secondly, invest in a good pair of bag gloves and a good pair of kicking pads for the instep of your feet. These can be found readily in your secondhand and thrift stores. For gloves, I prefer the ones with the small iron/metal bar sewn in around the first joint of the fingers beyond the knuckle. If you wrap the wrists (and you should), you tuck into the bag glove and go to work. The leather gloves (again) are the more durable. Wraps can be purchased (Everlast is a brand), or made from strips of cotton or linen sheets about 1 ½” wide and about three to four feet long.
These wraps come with a loop for the middle finger if commercial, and ties on the other end, to wrap the knuckles and wrist, protecting from broken knuckles or fractures of the wrist by giving support. A good bag workout should be broken down into “rounds,” such as (for starters) 1-minute rounds with 30 seconds’ rest in between. Three of these for starters, and if you’ve never done it before, it will “smoke” you. With time, increase the number of “rounds,” and eventually increase the time of the round.
Training for Hand-to-Hand Combat
With the bag, you can concentrate on the body dimensions of a human. Another way to improve this is to take either plastic/electric tape (1/2” wide) and “outline” a human head on the bag, and the torso, as well. You can use masking tape, but this will wear out faster. Then you practice boxing your heavy-bag man. Kicking is the same. The pads will protect both your feet and the bag. You don’t want to strike the bag either with your unprotected fist or foot.
Watch These Videos
Beginner Shadow Boxing
You can also practice your knife-fighting skills with the bag. If you do, don’t use a real blade. Either purchase a “rubber” training knife, or make one of your own from a piece of rubber or plastic, and wrap it up with duct tape. You want to protect your bag at all times. Using that edged tanto will just butcher your bag and take the smile off of the would-be samurai’s face. Perfect your motions for improvised weapons by using the bag as a simulator. The more realistic you make it, the more effective you’ll be in the field.
Finally, as I’ve stressed before, keep regular and accurate records of your training, so as to vary it in the future and also to chart progress. Think as a professional and you’ll perform as one. The heavy bag is not just a bag filled with junk: it is a valuable training tool that will give you the opportunity to learn new skills and reinforce old ones in your repertoire. It will give you a full workout if you will approach it in this manner. Stay in that good fight. JJ out!
