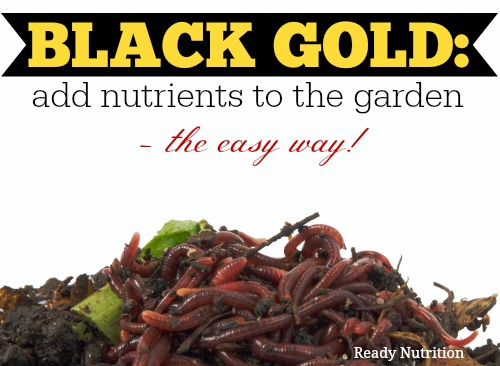
Black gold is the product of vermicomposting—or, in simple terms, it’s the rich, black stuff that comes out the back end of a worm. This so-called “super soil” has many benefits and it only takes a little bit of work to build your own worm farm and start getting a constant supply. Soon you’ll have thousands of tiny employees helping your garden to grow—they are humble and work hard, twenty-four hours a day. Best of all—worms do their work for free!
To build your own worm farm you’ll need:
– A drill
– Two plastic storage bins with snap on lids (make sure they are opaque)
– A small flowerpot or a brick
– Some old newspapers and household food waste (aka worm food)
And don’t forget the critical ingredient:
– Worms! Eisenia fetida are common earthworms sold by the pound at most gardening centers. If you have trouble finding them, your local bait shop is your next best bet. You don’t need a ton of worms to start a home worm farm. A pound will yield approximately 1,000 worms. They reproduce quickly and are hearty and adaptable to many environments.
- Drill out holes on one of the bins. Mark some holes around all four sides of the top of one bin with a pencil. Then mark out about 20 holes in the bottom and the top of the bin. Once you’re happy with the placement of the holed, drill them out. A 3/32” drip bit works best for the lid and sides while a larger bit (3/16” or so) works best for the bottom. Leave the other bin free of holes.
- Stack the bins. Put a flowerpot or brick in the undrilled bin and stack the drilled bin on top of it. This allows some space for the liquid to drain out of the top bin into the one below.
- Prepare the bedding. Shredded newspapers work very well, as do pieces of corrugated cardboard—make sure to avoid any pages/sheets with glossy color or tons of ink. Once your bedding is laid out, moisten it with water until it resembles a wet sponge. Don’t overdo it—the bedding should be moist, but still a bit fluffy.
- Add worm food. There’s no need to buy special worm cuisine. Non-animal, non-dairy table scraps work best. Keep the scraps diverse. Here’s a great article on how to use your food scraps for vermicompost.
- Add your worm friends! Now that your bin is made up, bury a small amount of food scraps in the newspaper and let your worms loose on it. Worms like the dark, so they’ll likely cover themselves entirely in the table scraps.
- Cover and protect your worms. Place a few layers of slightly damp newspaper over the top of your worms. Roll up a few more sheets of paper and place them around the edges. This will keep fruit flies from infesting your worm farm and will keep your worms from wandering off. The newspaper cover mimics earth and the worms will fee safe and secure underneath it.
Worms can consume their own weight in food in just one day, so soon enough your worms will be flourishing. You can feed them every day or every couple of weeks, just make sure that there is always food available. Once the worms begin digesting the food scraps, you’ll begin to see black gold in the bin. Being careful of your worm friends, gently scoop out the vermicompost for use in your garden. Over time, some dark liquid will accumulate in the lower bin—this is also an excellent nutrient for your garden and can be diluted with water and sprinkled over houseplants for an extra boost.
Your worms should thrive with little effort from you, aside from feeding them and keeping them in a shady location. Enjoy your new little buddies!

And when they populate- what do you do then? How many in one bin is too much? What problems can occur to deal with? Disease or too much heat……………………?