Getting started raising quail requires a little more effort than raising chickens, but they’re well worth it. Domesticated quail has a delicious, mild flavor that’s not gamey and they’re prolific layers. If you’d like to learn more about the different breeds and their requirements, go here.
Chicks or Eggs
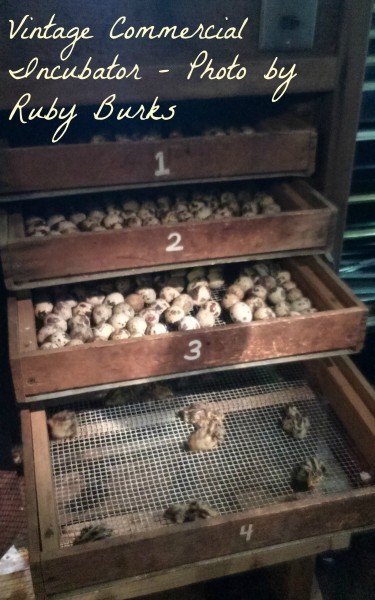
If you decide to start with eggs instead of chicks, you’ll need an incubator. There are two types of incubators- thermal air flow and forced air flow. Thermal air flow incubators move the air flow by using convection vents built into the top of the incubator. As the air in the incubator is warmed, the heat rises to the top and out of the vents. Forced air incubators work by moving the warm air around inside the incubator. The advantage of forced air over thermal air incubators is that the forced air reduces hot and cold spots in the incubator. Eggs incubate best when they’re kept at a constant, controlled temperature.
Unless you intend to turn all your eggs by hand, you’ll also need to buy egg rails. Most incubators sell them separately. There are special egg rails designed for the smaller quail eggs. Of course, if you decide to start with chicks instead of eggs, you won’t need an incubator right away. However, since domesticated quail no longer have the “broody” instinct, they will not brood their own eggs. If you intend to keep some of your newly acquired eggs/chicks and use them as breeders for future generations, you’ll either need to purchase an incubator or have a broody chicken do it for you. The smaller bantam breed chickens are best for this job. Regular sized chickens are too big and their weight will crush the small quail eggs.
Brooders
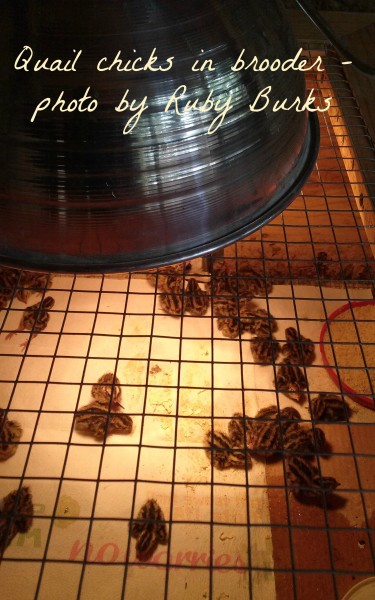 All chicks need an enclosure that mimics the environment they would have if they were reared by their mother. This enclosure is called a brooder. There are several brooder choices available, from this top of the line commercial brooder to building your own.
There are three basic brooding methods:
- A heat source warms only one area of the brooder and the chicks are able to move in and out of the spot, depending on their needs (known as spot brooding).
- The entire brooder is heated t the same temperature and the chicks are allowed to move about freely utilizing the entire area (known as whole house brooding).
- A portion of the brooder is heated and the chicks are contained to the heated area with panels called brooder guards which are removed as the chicks grow and need more space (known as partial house brooding).
Prepare your brooder at least 24 hours before your chicks arrive. This is important to insure everything is the right temperature before placing them in the brooder. Quail chicks are very small and fragile. They’ll become susceptible to disease and possibly die when they lose body heat. Use a thermometer to insure the temperature is between 90-95 degrees Fahrenheit one inch above the bedding. If your chicks show signs of stress upon arrival, raise the temperature of the brooder up to five degrees to give them some added warmth and comfort until they recover (it usually takes a couple of hours for them to recover).
For the first few days, cover the mesh floor of the brooder with burlap, cloth, or paper towels. No matter which material you decide to use, be sure to secure the edges so the chicks can’t burrow under it and smother.
Chicks lack the ability to regulate body temperature and don’t develop it until they’re about two to four weeks old as the downy fluff is replaced with feathers. You’ll need to adjust the temperature of the brooder as they mature and are able to regulate their own body heat. The recommended time/temperatures (in Fahrenheit) are listed below:
- 1-7 days old; 90 to 95 degrees
- 8-14 days old; 85-90 degrees
- 5-21 days old; 80-85 degrees
- 22-28 days old; 75 to 80 degrees
- 29-35 days old; 70-75 degrees
Once the chicks have reached 76 days old, they can be kept at 70 degrees. Mature birds can withstand colder temperatures provided they have adequate shelter from wind and rain and deep litter to snuggle down into. We’ve successfully raised quail in colony-style enclosures on the ground in temperatures below freezing by giving them fresh, clean shavings four to six inches deep. When the quail get cold, they burrow down in to the shavings in a manner similar to a dust bath until nothing can be seen but their little heads poking out.
Check the comfort of your chicks several times a day, especially toward evening when temperatures drop. If your chicks are piling up or chirping excessively, there’s either a draft or the heating element isn’t working properly. Clean their bedding frequently- soiled or damp bedding requires additional energy to evaporate the moisture and the temperature of your brooder will drop. Soiled bedding also increases the likelihood of parasites.
Food and Water
As discussed in the previous article on quail, this livestock needs a high protein game bird feed. Newly hatched quail are very small and can’t reach inside the holes of most feeders. The food crumbles are also too big for them to handle. Plastic lids with shallow lips, like the kind found to cover cans of pet food or on cardboard oatmeal containers, make excellent and inexpensive feeders. Grind the game bird crumbles in a blender until it is a soft poder and sprinkle a pile of the powdered feed on the lid. Place the lid in the brooder, slightly away from the heat source, for the first week or so. After that, conventional feeders, like the one shown here and here can be used. If you chose the rectangular style feeder, be sure to place them like spokes on a wagon wheel pointing back to the feed source. Young chicks will sometimes get confused if the feeder is placed parallel to the heat source and won’t be able to figure out they need to go around it in order to get back to the warmth.
Clean, fresh water should always be available. You may need to check the waterer several times a day in the first week or so to make sure the chicks haven’t fouled it with feed or manure. Regular-sized waterers, designed for larger birds like chickens, can easily drown a chick. This can be mitigated by placing small, smooth stones or glass marbles in the water well of the waterer. Chicks can still get sips of water between the rocks or marbles but are unable to get their full bodies in the water well. Leave these stones/marbles in for about two weeks.
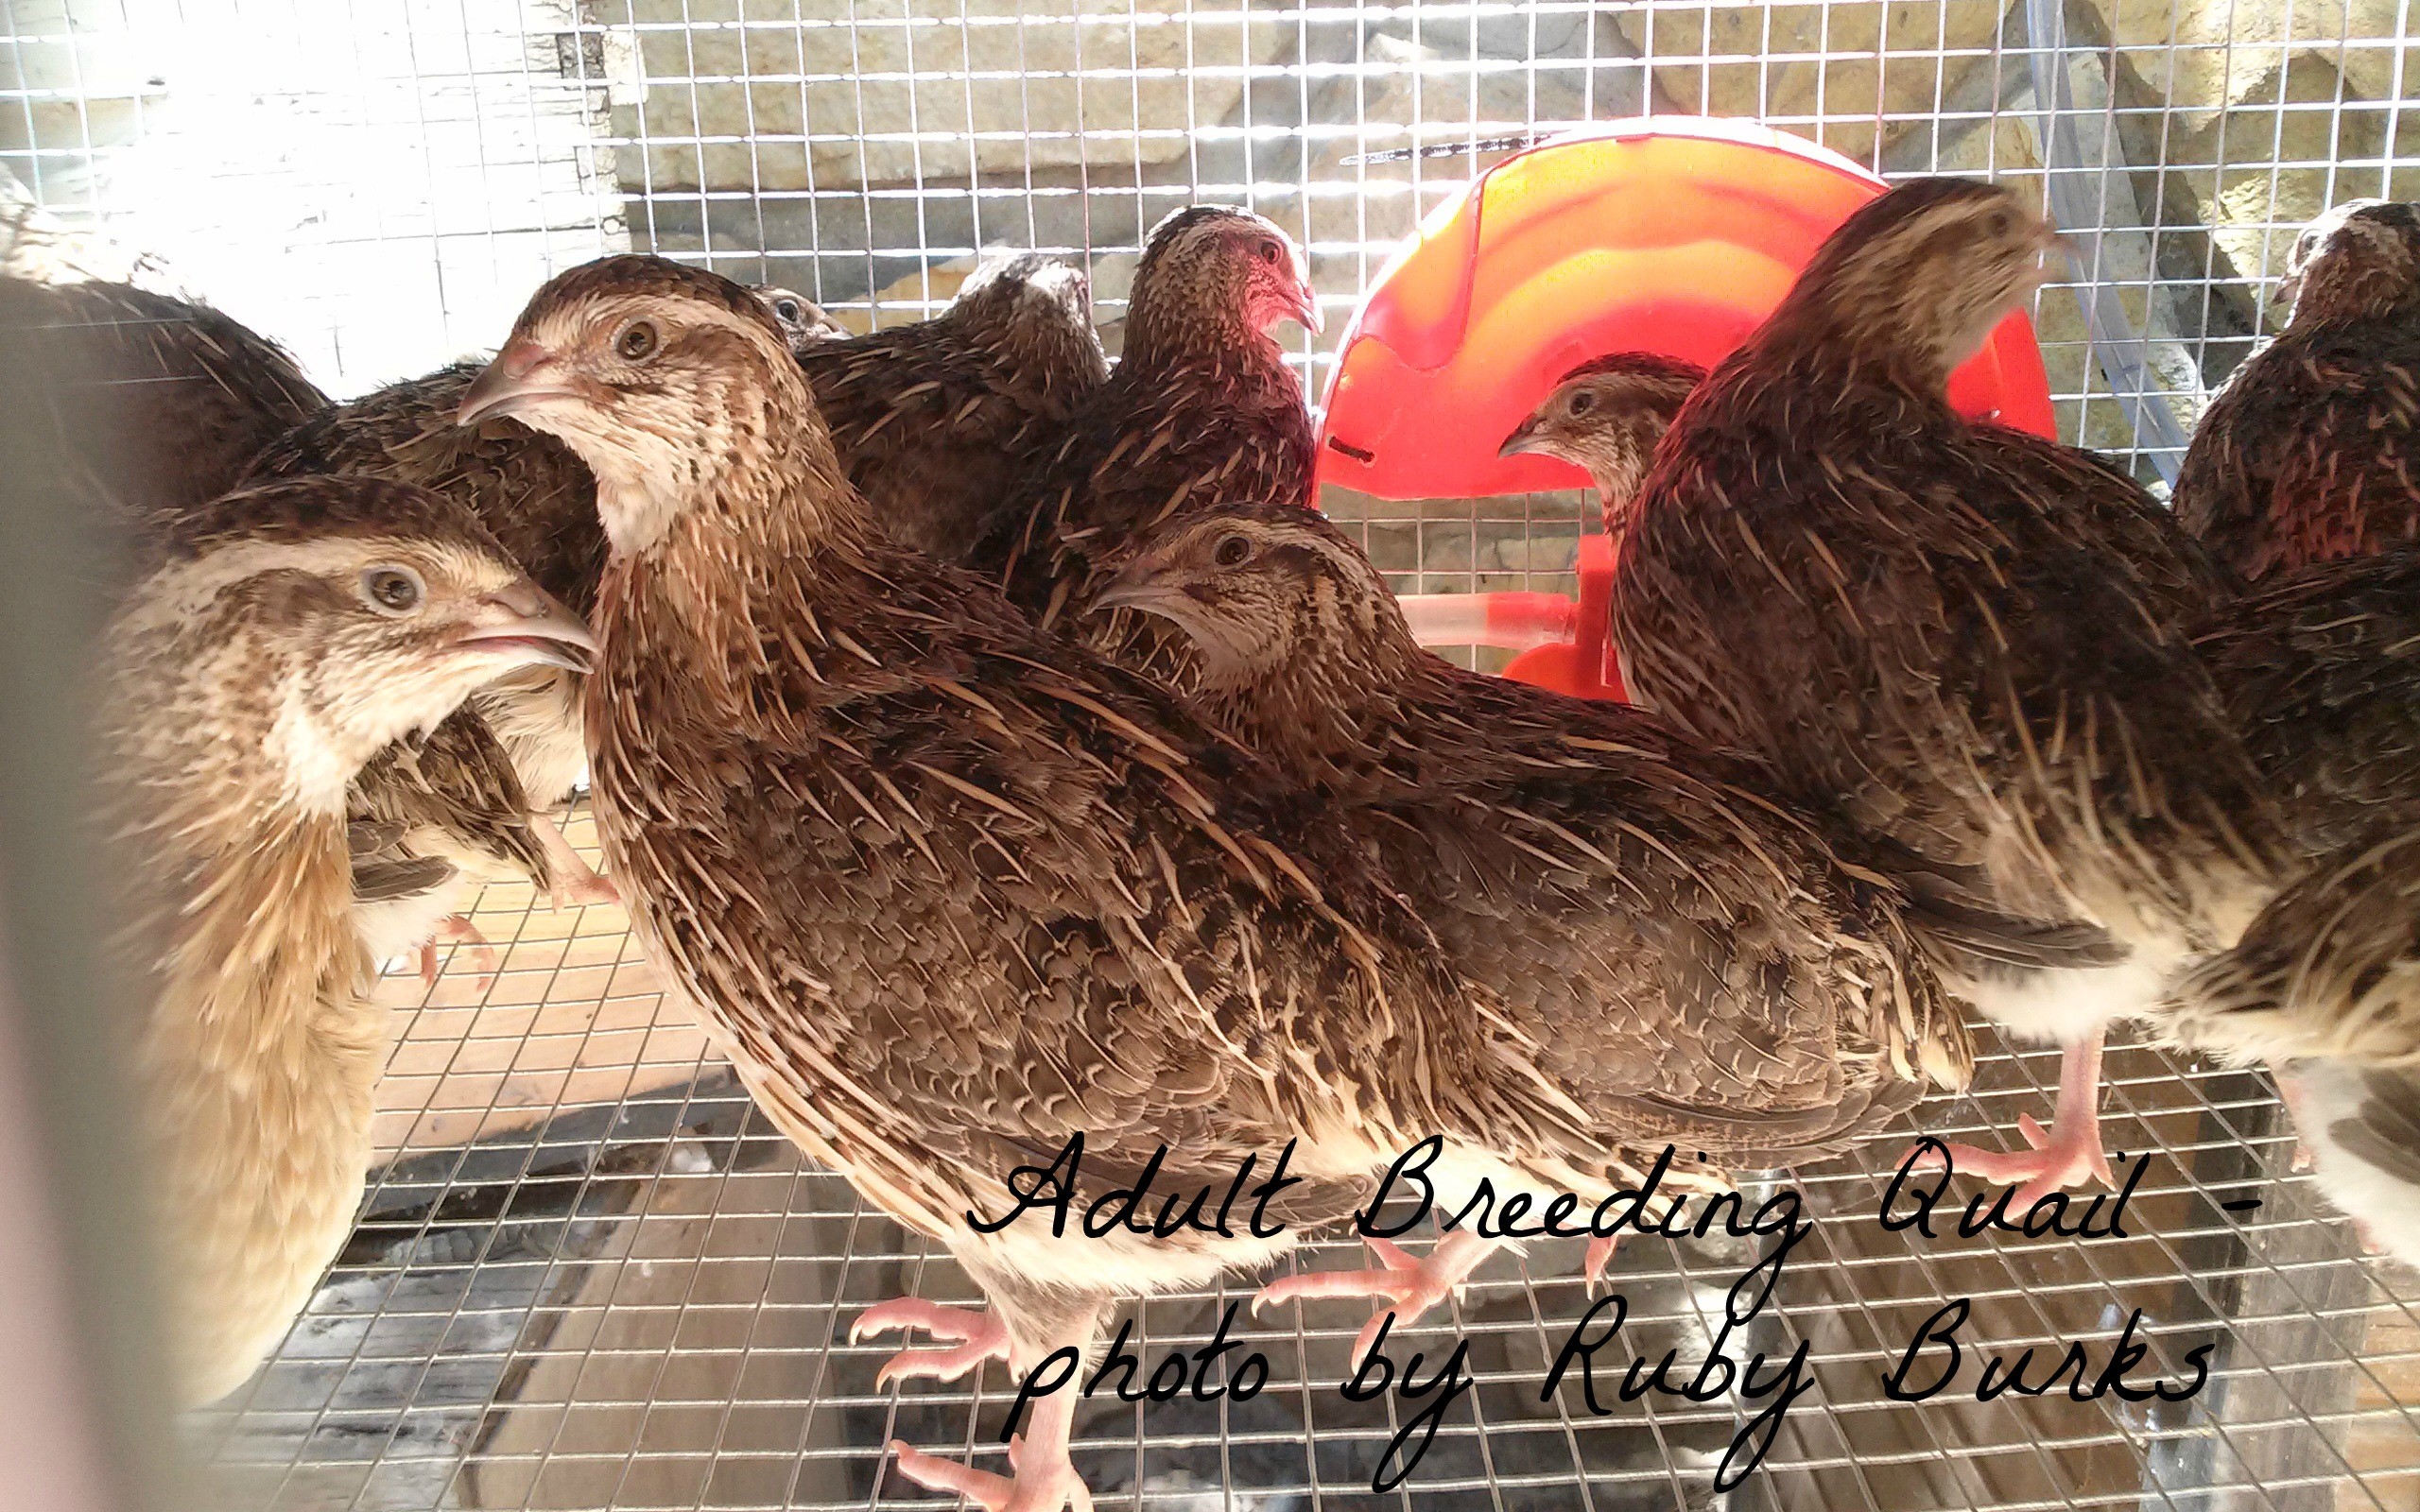
Some varieties of quail can be sexed as soon as they get feathers, but if you’re in doubt, every variety can be sexed as soon as the males start crowing. If you intend to breed your quail, it’s important to keep the male to female ratio to about one rooster to every five hens. Anymore than that and the roosters will become over-aggressive with each other and will bothers the hens too much. As soon as I hear more than a few beginning to crow, I use the dauber that comes in a bottle of Blu-Kote to mark their backs or heads (or whichever part of their body I can dab as they run by!). It stays on for days until I have time to butcher a group of them at once.
Whether you choose to get started with chicks or eggs, quail are an easy way to provide sustainable meat even in small spaces. They’re prolific layers, can be eaten without the meat becoming tough at any time during their lives, and are a great way to get into poultry for the small scale homesteader.