
I love making homemade soaps with ingredients I have around my home. To me, it just adds to the experience. A few years ago, I found a recipe for hot processed soap and fell in love with the simplicity of it and now use it all the time. I had an abundance of coconut and olive oil from some homemade lotion projects I had done a few months back so I decided to use these as the basis for my soap.
Hot Process vs. Cold Process Soaps
There are two different processes with soap making: cold process soap and hot process soap. Here is a basic tutorial on the soap making process. I prefer using the hot process method because, in my opinion, it’s faster! Hot processed soap is essentially the same as cold processed, except the soap is heated and cooked longer, and as a result, will cut down on the curing time. With the hot process method, the extra heat speeds up the saponification process, which cuts down on cure time. Hot process soap only requires 1-2 days in the mold, and 1-2 weeks to cure, while the cold process takes 3-6 weeks cure time. Another reason why I love this process is that in cold processing, you have to wait until the lye solution and oils are at the same temperature before mixing, but with the hot process it really doesn’t matter about the temperatures because the oils are hot and the lye will be too and you’re going to cook it together longer.
A quick note about lye:
Mixing the lye is the scariest part because of the chemical reaction and quick temperature changes. Pay attention to some of these tips:
- Use gloves and protective eyewear when mixing the lye and water.
- Usually in the soap making process, you use a scale to weigh out your oils and lye so that everything is accurate. (The recipe below is different in that respect, but is a tried and true recipe that I always use.)
- A cautionary note about lye – this is a caustic, corrosive, and volatile chemical that can be dangerous. Follow instructions for soap making implicitly. NEVER add water to lye – only add lye to water.
- As well, when you are mixing the lye and water, fumes will be present. If you open a window or door to ventilate, the fumes should not be overpowering.
- If lye gets on the skin, flush immediately with plenty of water for at least 15 minutes. Seek medical attention. If it comes in contact with eyes, flush immediately with water for at least 15 minutes and get medical attention. Many soapers keep vinegar on hand, believing it neutralizes lye burns. If inhaled, move to fresh air. As well, if lye gets on clothing, if your skin comes in contact with lye, remove any contaminated clothing.Here is a great article on how to safely work with lye .
I realize there are those who are just beginning to get interested in soap making, so trust me, if you follow these basic instruction step by step and have all the equipment prepped and ready to go, your soap will turn out perfectly.
Equipment you will need:
- 6 quart crockpot *designated for soap making only.
- Stick blender
- Soap mold
- Rubber gloves
- Protective eyewear
- Stainless steel spoon
- 4 cup glass measuring cup for oils
- 1 quart glass Mason jar to mix lye in (the lye will break down the integrity of
- assorted oils (olive oil, coconut oil, etc.)
- lye
- essential oils, fragrances, etc.
*I would advise not to double this recipe. Hot process soap tends to expand, and could easily overflow the crockpot. You do not want a soap volcano!
Usually, you would use a scale to determine the correct amount of oils and lye to use, but the woman who created the recipe says that she already weighed out the oils and lye properly and converted them into easy measurements. That’s good news for us!
Basic Recipe for Hot Processed Soap:
Makes 12 bars of soap
- ¾ cup cool water – use distilled or filtered water
- ¼ cup lye – also called 100% sodium hydroxide
- ⅔ cup olive oil
- ⅔ cup coconut oil
- ⅔ cup other liquid oil such as grapeseed, almond, sunflower, or safflower oil (here’s a great chart of oils that you can use)
- Optional: dried herbs, essential oils, fragrances
The Process:
- Put on gloves and protective eyewear to mix lye. Pour the filtered water into a quart canning jar. Slowly add the lye and stir with stainless steel spoon until dissolved. The fumes that come from the lye will stop in a minute or so. When the lye solution has gone from a cloudy mixture to a clear mixture again, it’s ready. Set aside and allow to cool.
- Next, in a double broiler, melt oils. Before adding them to the crock pot, measure them a liquid state, not solid to be as accurate as possible.
- Set crockpot to high heat and add oils and make sure they are warmed thoroughly. Note: When you can add the lye solution, you will set the crockpot to the low temperature setting.
- Slowly add lye to melted oils and stir by hand for 5 minutes. This will bring all the lye in contact with the oil and thoroughly mix it together. As well, it will keep your electric blender from overheating.
- After 5 minutes, then use a stick blender to bring it to a light trace. A light trace is similar to the consistency of pancake batter. Thick, but not like pudding.
- Once it gets to a light trace, cover it and walk away. DON’T stir it! After about 20 minutes, sometimes sooner, you’ll see some bubbling on the sides. Then it will start to boil (sort of) and turn translucent, almost like petroleum jelly.
- After approximately another 20 minutes, it will expand more and start to curl in on itself. You still don’t want to stir it yet. When it’s all translucent and has folded in enough to fill in the middle, then it’s done for now.
- Turn the heat off and ¼ cup of filtered water and mix it in. Stirring may be somewhat difficult, but continue stirring the mixture and it will start to smooth out. You can add up to ½ cup water per batch and still have it come out ok. If you add more than that, your soap will not set up properly. Trust the process!
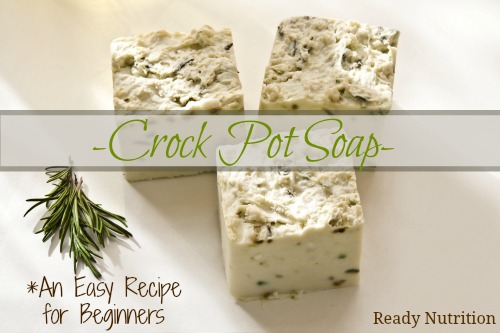
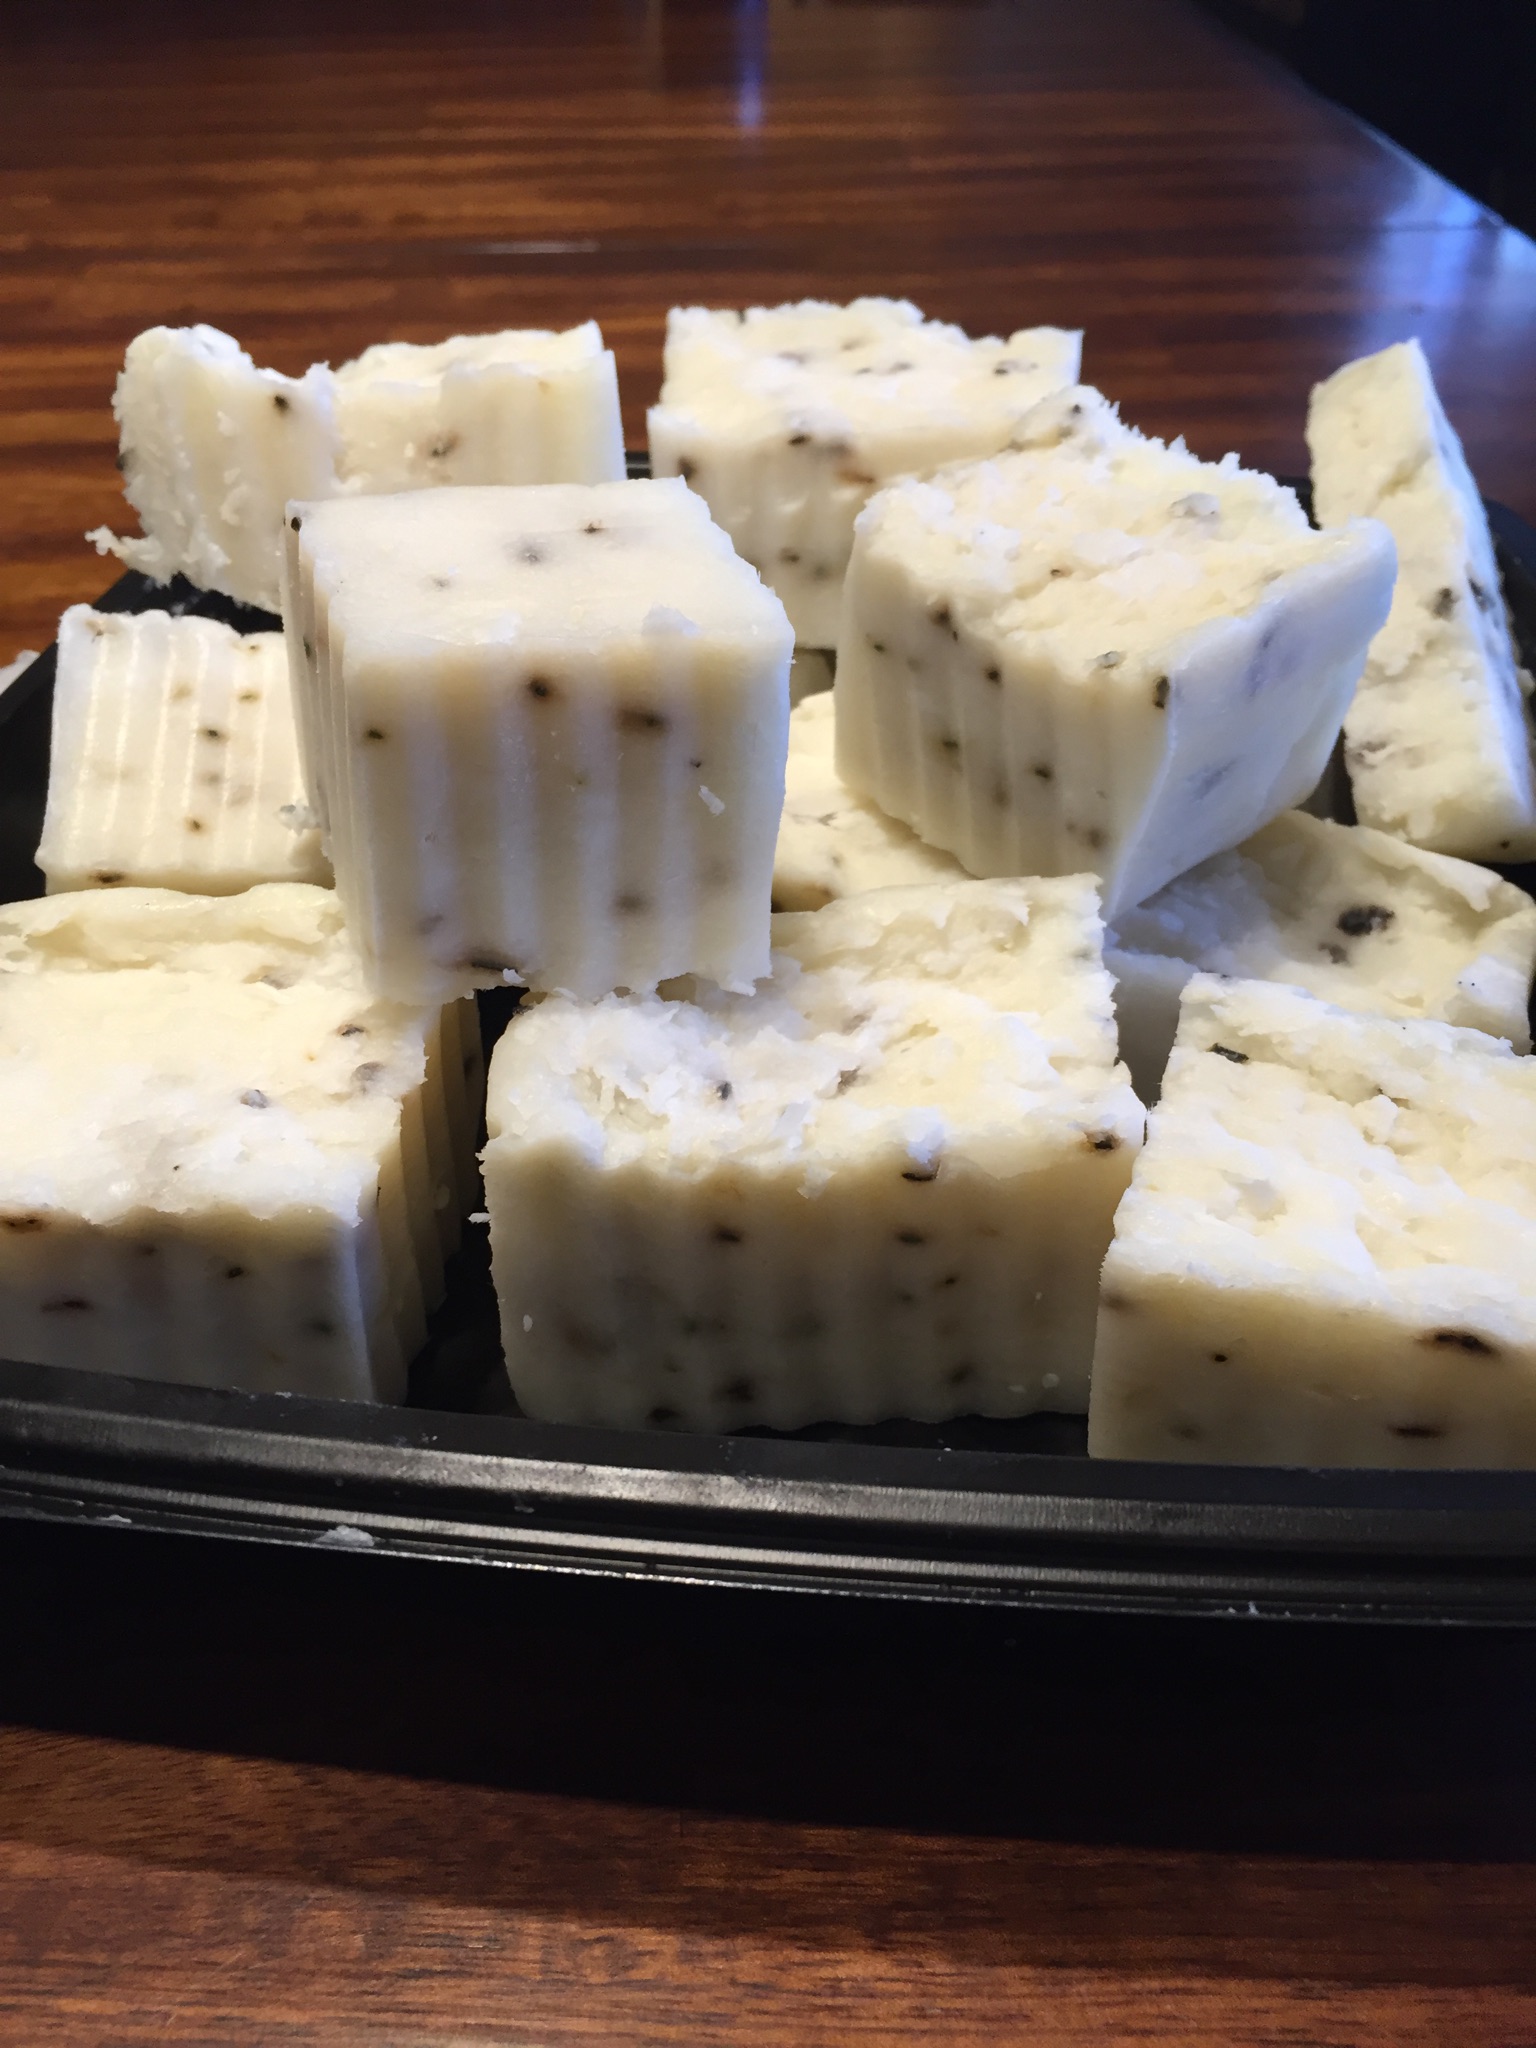
- After the soap is smoothed out, then you can add dried herbs and essential oils to the mixture. I added rosemary and mint essential oils and cut up some rosemary leaves to add to the soap for a nice look.
- Pour it into molds, cover with wax paper and let it sit for 24 hours. Don’t worry about retaining the heat. You just cooked it all out!
- After 24 hours, take it out of the molds. Set it on some parchment or wax paper to cure for a week. With a knife or soap cutting tool to cut soap and allow to cure for another week or two.
Here’s a great trick! To clean your crock pot, add warm water to the crock and add all soap making instruments and allow to soak overnight. In the morning, use the soapy water in lieu of laundry detergent.
The End Result
Learning to make soap is a fun diy skill. If you follow the directions in this article, your soap experience will be great. This soap is a great gateway recipe to getting comfortable with the soap making process so that you can move on to more difficult processes. I personally like it because it’s fast and reliable.
My next soap project will be making soap from bacon lard. We bought a butchered pig from a local farm and they gave me a quart of lard. So, stay tuned, there will be more soapmaking to come!
This article was originally published at Ready Nutrition™ on January 28th, 2016


Thanks for the soap recipe! The soap is working out great. I used a silicone loaf pan as my soap mold and it seems the soap needs to dry/harden another week as the bars are some what large.
One question on the amount of essential oils you use for scent? I used about 12 drops each of lavender and Bergemont essential oils but all I can smell is the “clean soap” aroma. For the fat used in the soap I used Coconut, olive and Rice bran oil.
My soap turned out a little grainy. What did I do wrong? I used coconut oil, grape seed oil and olive oil.
It could have been caused by miscalculating ingredient amounts, the lye could have gone bad, or there wasn’t enough water. If your soap is crumbly you can rebatch it. Here is an article on how to do that.
https://www.diynatural.com/rebatching-soap/
I’ve been wanting to delve into making soap, even going so far as to making my own lye from the ashes I get an abundance of from my woodburning stove. However, before I get that rambunctious, I need to rely on pre-made lye and get the basics down. I’ve read several articles on soap making and my question comes down to this: I read that rainwater is ideal for making soap. Your recipe calls for distilled or filtered. I have a distiller and have oodles of rainwater, the luxury from living in western Washington. Your thoughts and help, please!
I want to add salicylic acid powder and sulfur powder to it, but the last time I tried I ended up having to re-mill it. Too much, too little, not sure. Anyone have recommendations on amounts for this specific recipe/when to add? I did so after it smoothed out. I have to use all Olive Oil, I’m allergic to coconut oil, almond oil, well, most everything else haha. (Trying olive oil and rice bran oil next though)
How did the Bacon Lard soap turn out?
I attempted this soap twice but it was very watery and wouldnt harden.
Linda,
I’m so sorry that it didn’t work for you. I’ve never had that problem. You may not be putting in enough lye.
Tess
In lieu of the water could you add milk?