1. Nitrogen: Encourages green foliage by producing chlorophyll and improves leaf development.
2. Phosphorus: Phosphorus promotes good root production and helps plants withstand environmental stress and harsh winters.
3. Potassium: Potassium strengthens plants, contributes to early growth and helps retain water. It also affects the plant’s disease and insect suppression.
This Bi-Product is One of the Leading Soil Amendments and Preferred by Most Organic Farmers
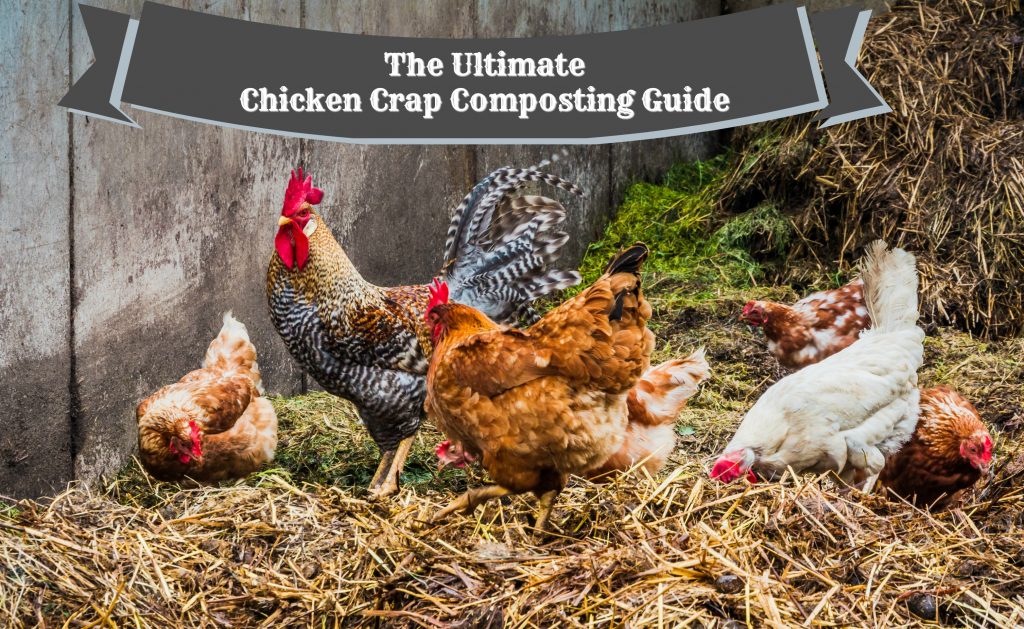
While most of these elements and nutrients are naturally found in soil, sometimes they can become depleted and need to be added to help the soil get healthy again. Those of you who are working towards sustainability are well versed in the importance of composting and may even be making the most of your property by caring for backyard livestock. If you do have livestock, you probably have a plethora of the bi-product they produce – manure. Once composted, aged manure is a great addition to create rich soil. In particular, chicken manure can be one of the best types of manure to add.
“Chicken manure has higher levels of nitrogen, phosphorus and potassium compared to cattle, sheep or horse manure.”
Safe Handling
While chicken manure is a desirable compost to add to the garden, there are some things you need to know before you apply this soil amendment. First of all, gloves should be used when handling manure. Salmonella spp., E. coli and other human pathogens are present in chicken manure, so handle carefully. As well, because chicken manure is packed full of powerful nutrients, it is considered a “hot manure” and requires proper composting. Make no mistake, raw chicken manure applied to plants can burn, and even kill delicate plants. Moreover, since vegetables are growing in compost manured, take extra care when harvesting your vegetables. Thoroughly wash any harvested vegetable or fruits that was touched with compost with soapy water. As well, peel root vegetables and wash leafy greens with soap, or thoroughly cook garden vegetables before eating to kill any pathogens that may remain in the soil.
How To Compost Chicken Manure
Did you know that one hen produces 45 pounds of manure every year? That’s right, this livestock is a pooping machine! Taking that 45 pounds of chicken manure and chicken litter and applying it each year to 100 square feet of soil will work wonders in your vegetable garden and increase the fertility of your soil.
There are two ways to compost chicken manure. Cold composting is a slow aged process that requires weeks for the manure and chicken bedding to age and mellow. Hot composting creates an interior heat in the center of the compost mound and the high-heat cooks the manure and considerably shortens the composting process.
Cleaning out the chicken coop is the best time to start a composting pile for your manure. When we prepare our chicken coops, we use a layer of cedar chips and them apply straw every month or so until it’s time to clean the coop again. This process naturally gives the future compost a 2:1 ratio of brown material to green material.
Cold Composting Method:
This composting process allows nature to do its business. Manure is added to a compost heap and allowed to sit and slowly decompose.
- Add a shovelful of already finished compost or native soil, which will be full of microorganisms to jump-start the process.
- Using gloves, rake, shovel and deposit the bedding and chicken droppings directly into the compost pile.
- Water it thoroughly and then turn the pile every few weeks to get air into the pile. Allow six to nine months for the manure to naturally age.
- Once compost has aged properly, it is done when originally bedding and manure is no longer recognizable and has turned into rich, dark soil.
- Once you have finished chicken manure composting, it is ready to use. Simply spread the chicken manure compost evenly over the garden. Work the compost into the soil with either a shovel or a tiller.
- Thoroughly wash any raw vegetables before eating.
*If you are uncertain how well your chicken manure has been composted, you can wait up to 12 months to use your chicken manure compost.
Hot Composting Method
This is a faster composting method that heats the composting manure up to high temperatures that will kill off weed seeds and pathogens (diseases), and break down the material into very fine compost considerably faster than the cold composting method.
- Add a shovelful of already finished compost or native soil, which will be full of microorganisms to jump-start the process.
- Using gloves, rake, shovel and deposit the bedding and chicken droppings directly into the compost pile that is 3 cubic feet (1 cubic meter) in size and no more than 5 cubic feet (1.5 cubic meters). *This size creates the best heat and moisture to speed the decomposition process.
- Water compost pile thoroughly (It should be as wet as a wrung sponge).
- Cover compost pile with a large burlap or other breathable tarp to maintain moisture.
- With a garden thermometer, take pile’s temperature daily to ensure the temperatures rise to 120 to 170 degrees Fahrenheit. This usually takes one to five days. *Temperature trends are approximate and vary depending on the type of materials you’re composting, the size of the pieces, the level of moisture, and so on.
- Every four to seven days, when the temperature of the pile begin to drop below 110 degrees Fahrenheit (43 degrees Celsius), turn all of the organic matter to introduce more oxygen and heat it back up.Thoroughly mix materials from the pile’s exterior to the interior. If needed, water as you turn to maintain the “wrung-out-sponge” moisture level. *Be careful not to get material too wet, because doing so cools off the pile.
- After about 14 days, the ingredients of the organic matter will no longer be recognizable. Continue monitoring and recording daily temperatures and repeating the turning process.Turn every four to five days, when the temperature drops below 110 degrees Fahrenheit (43 degrees Celsius). Add moisture, if needed. Turn a total of four times throughout one month.
- After 1 month, the pile no longer heats up after turning, and the bulk of it is dark, crumbly compost.The temperature drops to 85 degrees Fahrenheit (29 degrees Celsius) or lower.
- Monitor the pile and once you are satisfied that the entire contents of your bin has been heated, loosely cover and allow the compost to cure for 45-60 days before using.
More information on this process here
When your chicken manure has sufficiently turned into fertilizer, simply spread evenly over the garden. Work the compost into the soil with either a shovel or a tiller and watch how fast your plants will grow.
The use of manure is an integral part of sustainable gardening and adds necessary organic matter in soil to improve water and nutrient retention. In turn, this creates a prolific ecosystem in the soil to give your plants what they need to produce. Adding chicken manure is an excellent soil amendment and if composted properly, you will find that your vegetables will grow bigger and healthier as a result.
This article was originally published at Ready Nutrition™ on January 16th, 2017


